Cabinet building represents the intersection of joinery skill, design sensibility, and practical craftsmanship. Whether you're building kitchen cabinets, a built-in bookshelf, or bathroom vanities, the fundamental principles remain consistent. This guide walks you through the complete process from initial design through final installation, with special attention to the details that separate professional work from amateur efforts.
Design Considerations
Successful cabinet design balances aesthetics, functionality, and construction practicality. Standard cabinet depths have evolved to fit common purposes: 24 inches for base cabinets provides adequate storage while leaving knee space for countertop overhangs. Upper cabinets typically measure 12-15 inches deep, with 18 inches above the standard 30-inch countertop height to the bottom.
Consider how the cabinets will be used before finalizing dimensions. Deep drawers are wonderful for pots and pans but expensive. Roll-out shelves improve accessibility significantly over fixed shelves. Pull-out trash units, spice racks, and utensil organizers add real-world functionality. Building these features into your design from the start is far easier than retrofitting later.
Material Selection
Plywood is the standard choice for cabinet construction, offering stability and strength. Baltic birch is prized for its void-free layers and consistent quality. Apple ply provides excellent edge detail. Pure hardwood plywood avoids the softwood cores that can telegraph through painted surfaces.
For doors and exposed sides, solid hardwood or hardwood plywood with solid wood edging provides the best appearance. MDF works well for painted panels but lacks the structural integrity of plywood for frames. Particleboard should be avoided except for extremely low-budget applications—it doesn't hold fasteners well and swells dramatically when wet.
Joinery Methods
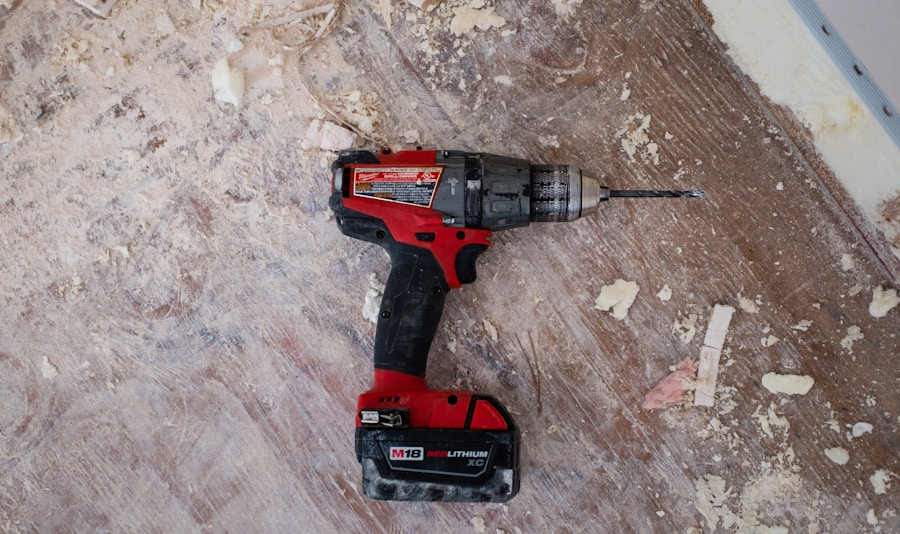
Cabinet carcasses are typically joined with pocket hole construction, dowels, or Dado and rabbet joints. Pocket screws offer speed and reasonable strength for many applications. Through-dovetails represent the premium approach for visible joints in drawer construction. Dowel joinery provides excellent strength without visible fasteners.
The most professional approach for face frames uses mortise and tenon joinery, though this requires more skill and time. Pocket screws work adequately for most budget-conscious projects. Whatever method you choose, ensure your joinery is square—cabinet assembly errors compound throughout the build.
Building Sequence
Begin with complete shop drawings showing every piece with exact dimensions. This prevents costly mistakes and allows accurate material ordering. Cut all pieces to size before assembly. Label everything clearly—you'll thank yourself later when pieces look similar but serve different purposes.
Assemble carcasses first, checking for square immediately. Drill pocket holes or prepare joinery before applying glue. Clamp carcasses during glue-up and allow adequate cure time. After assembly, check diagonals to confirm the cabinet is perfectly square before proceeding.
Door and Drawer Construction
Cabinet doors require precise construction for proper operation. Hinges must align perfectly for smooth operation. Door gaps should be consistent—typically 1/16 to 1/8 inch between doors and 1/8 inch from edges. Overlay doors cover the face frame; inset doors sit within the opening. Each requires different calculations for dimensions.
Drawer construction quality varies enormously. Solid hardwood drawer sides with through-dovetail or box joint corners represent premium construction. Doweled or pocket-screwed joints provide adequate strength for most applications. Drawer bottoms should be captured in grooves, allowing seasonal movement without buckling.
Hardware Selection
Quality hardware elevates cabinet function significantly. Soft-close hinges prevent slamming and reduce wear. Full-extension drawer slides provide complete access to drawer contents. Adjustable shelf clips allow shelf repositioning as needs change.
European hinges offer simple installation and adjustment in three planes. Traditional butt hinges require more skill to install but work excellently when properly set. Consider the visual impact—visible hinges should match other hardware finishes, typically brushed nickel or oil-rubbed bronze.
Finishing
Cabinet finishing requires careful surface preparation. Sand all surfaces to 150 grit minimum before finishing. Apply stain if desired, followed by a protective topcoat. Polyurethane provides excellent durability for kitchen applications. Lacquer dries quickly and sprays beautifully. Conversion varnish offers professional results but requires specialized equipment.
Apply finish to components before assembly when possible. This prevents finish from getting into joints and allows thorough coating of all surfaces. Touch-up after installation fills any damage from handling. Finish the interior of cabinets to prevent moisture absorption that can delaminate ply.